Friday, February 23, 2018

Have Yourself a Merry LITTLE Christmas

This week at Jingle Belles we're going LITTLE ... that means creating cards that feature INCHIES (1") or TWINCHIES (2").

Traditionally, we think of inchies or twinchies as squares, but you can use other shapes, like circles; or perhaps even snowflakes or small embellishments.  You might contain your entire image within the *Inch* ... or perhaps break a single holiday image into smaller shapes ... just get creative and go LITTLE. Need more inspiration? There are soooooo many great ideas on Pinterest!

Here are our LITTLE creations for the week:


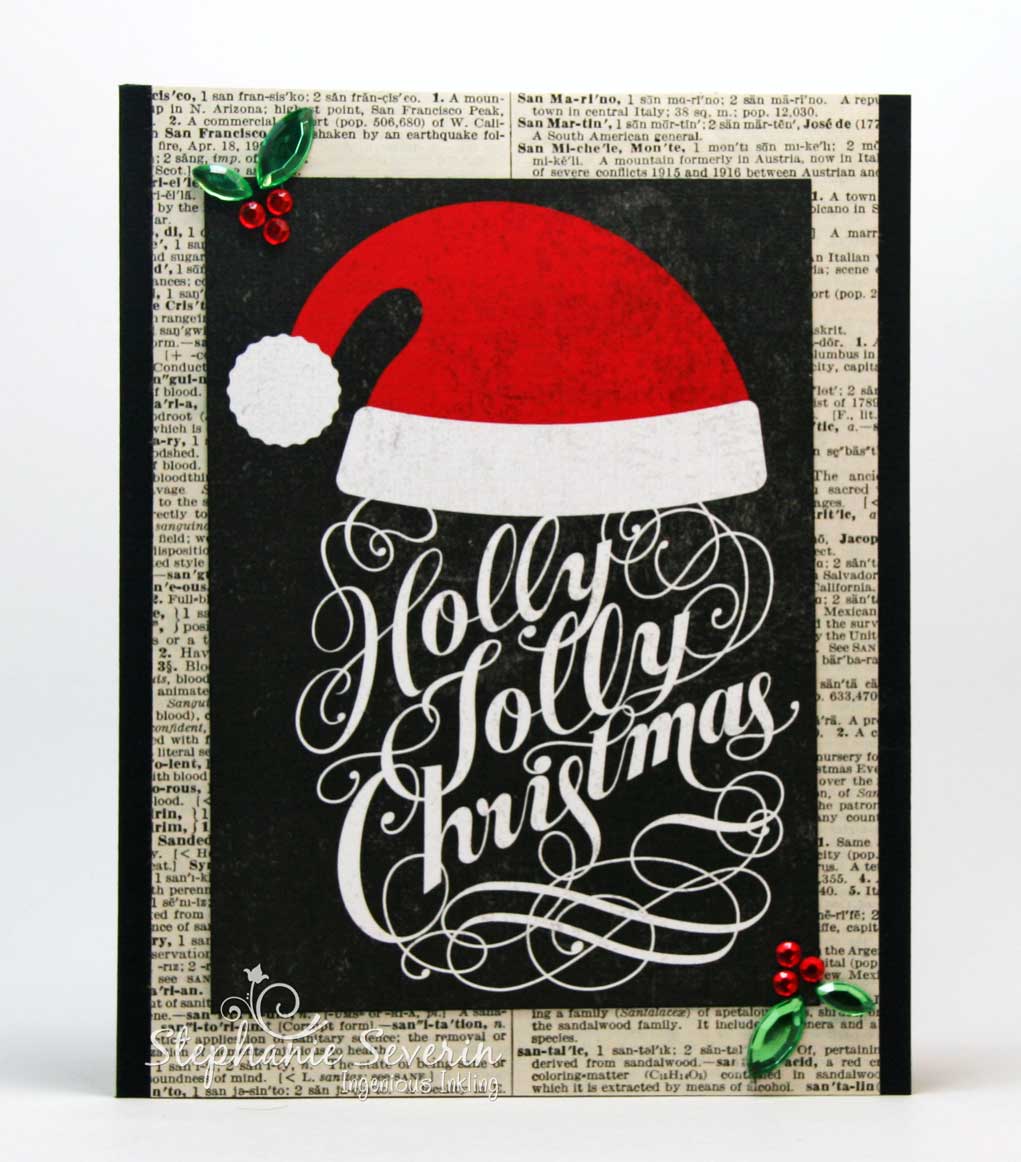
Stephanie says, "I found a sheet of these black & white inchie circles hiding in my stash ... I think they were intended to go into bottle caps, but they also work perfectly as the focal image for my card.  I punched the circles and then edged them with a black Sharpie to give a solid border.  The background is text printed on Yupo paper that we used for as a transfer for Gel Press printing in one of my classes at Creativation.  I recycled the texty print by covering it with splashes of alcohol ink."

Lauren says, "I went with twinchies and I basically cheated. I mention this, because if you have any of the fab papers out there with two-inch mini journaling cards on them, you can, too! This particular sheet is from American Crafts, but I also have one by Simple Stories and I know there are others! In this case, the colors and motifs went really well with a bunch of different Eyelet Outlet holiday brads, so I've worked in a Poinsettia, a Candy Cane and a sweet Cardinal. I've used this week's awesome Sketch Saturday for my layout."

So break out those tiny stamps, stickers, and embellishments and show us all of the *little* ways you can get creative with your holiday designs.  Link-up your card by 6pm (EST) on Wednesday, March 7th.  The keyword for galleries and our Flickr Gallery is JB:18:05.   

Thursday, February 22, 2018

Creative Coloring of Christmas

We loved seeing all of the color mediums in the gallery ... and here are a few that particularly caught our eyes.

Lindsey
of

created fun graphic holiday trees by combining die cuts with Distress Ink *coloring* 
... such a great way to add wonderful pops of color.

Alison C
of

found the perfect use for a previously discarded water-colored background 
and combined it with perfect coloring with Brushos and Pro Markers ... 
that Polar Bear is such a cutie.

Helen
of

shared beautiful coloring with watercolor pencils ... 
but we particularly loved her doodled frames.

Join us at midnight tomorrow for a fun *LITTLE* prompt to keep our Christmas card making juices flowing.

Friday, February 16, 2018

We Bring You Season's Colorings

We're still breakout out all sorts of coloring mediums at Jingle Belles this week ... so many possibilities.

Here's what we created for our second round of holiday cards.


Marianne says, "This week I decided to get inky. I started by creating a few panels using ink smooshing, both on plain white Neenah and watercolour cardstock. My Neenah panel looked a hot mess, but after some additional ink blending, embossing with a new to me embossing folder and blending some Pentart vanilla stencil paste over the raised embossed pattern (and, unintentionally, the rest of the panel as well), my panel had quite unexpectedly been transformed into something soft and pretty AND shimmery. A die cut sentiment and a heat embossed sentiment strip were all the embellishments it needed."


Lauren says, "Stamping and coloring is not my forte, but... these Lawn Fawn reindeer and Pretty Pink Posh trees are kind of irresistible, aren't they? Luckily, both companies have blogs with lots of examples of GREAT coloring with shading, etc, which really helped me get it right! Once I had all the stamped elements done, all I had to do was build a wintery background using Penny Black dies and various white patterned papers!"


Stephanie says, "Sometimes all you need is a little coloring to bring an image to life ... like the colored pencil highlights I've added to my Technique Junkies Christmas Kitty ... green for the eyes, pink for the nose & red for the Santa hat.  I used the sketch from Sunday Stamps."


Remember, Link your gorgeous "COLORING" masterpieces right here by 6pm (EST) on Wednesday, February 21st. Keyword for galleries and Flickr is JB:18:04. 

Friday, February 9, 2018

A-Coloring* We Will Go

Description:This fortnight we are delighted to have one of our favorite, long-time Jingle Belles-- Marianne of Marianne's Cards 'n Stuff-- designing along with us. She's thought up a brilliant prompt to inspire us all: for "A-Coloring We Will Go" we'd like you to create a holiday card that incorporates any type of coloring medium: markers, pencils, crayons, inks, watercolor, etc; in any way you want, whether that's coloring stamped images, creating fun backgrounds or getting as creative as you'd like!

Before we show off our own cards, let's meet Marianne and bid her welcome!
"Hi everyone, I'm thrilled to be making a guest appearance at the Jingle Belles blog this fortnight. I'm a Dutch native living in Crete, Greece, who loves creating Christmas cards and intends to do more colouring this year. That is why I approached Lauren and Stephanie to ask them if we could go a-coloring together some time. The idea for this fortnight's prompt originated quite a while back, when Lauren and Stephanie were inviting us to come a-caroling. This idea resurfaced when I was thinking of my crafty goals for 2018. So how about it? Will you come a-coloring with us?"
Here's what we made this week:


Marianne says, "I started with this sweet image that I had originally watercoloured using Tombow markers. I used coloured pencils to add a little shading. For my background, I masked off an area, blended some distress inks and finished off with some splatters and a little snow."


Stephanie says, "I did my coloring with a blue Gelato directly on the rubber of this Snowy Scene Stamp from Hero Arts.  I lightly spritzed with water and stamped it on watercolor paper.  I trimmed and added a sentiment from Essentials by Ellen Modern Christmas.  The piece along the bottom was created with another type of abstract *coloring* ... splattering alcohol inks on texty printed Yupo paper.  I also *colored* with a Nuvo Glitter Marker pen by dotting it in the night sky to create glittery silver stars.  Click through to my blog if you want to see a second version using the same techniques."


Lauren says, "I think everyone knows that my favorite coloring medium is watercoloring with ColorBurst Pigment Powders from Ken Oliver Crafts. In this case I've combined some of my favorite blues (Indigo, Turquoise and Cerulean, to be specific) on a piece of watercolor paper and trimmed bauble shapes from the result. After they were completely dry, I used stencils to add plain white modelling paste to the larger ornament, and a glittery embossing paste to the smaller; when that was dry I brushed a little bit of Platinum Mineral Burst on top for a shimmery effect that I haven't quite captured in the photo (but it's really cool IRL!)" 

Link your gorgeous "COLORING" masterpieces right here by 6pm (EST) on Wednesday, February 21st. Keyword for galleries and Flickr is JB:18:04.
An InLinkz Link-up

*or possibly, A-Colouring! ♥

Thursday, February 8, 2018

Word(s) to Your Mama! ♥

We could not be more impressed by the awesome crop of word-centric masterpieces from the "Text Me" prompt. As usual, you guys have made it truly difficult to only feature three!

...proves that you don't need many elements to make a stunningly lovely card, provided they are the absolute perfect ones to use! 
(Which these so totally ARE!)

...combined a fun texty patterned paper with recycled bits from one of last year's holiday cards for a design that's enviromentally friendly AND adorable!
(A girl after our own hearts, here!)

...cleverly used a *VALENTINES* stamp on her amazingly lovely and elegant Christmas card!
(We looooooove stamps that multi-task!)


Many thanks to everyone who played along, we are inspired by EVERY SINGLE CARD that gets linked up! We'll be back at midnight with a lovely guest star and a brand new prompt we hope will color your world for the next two weeks! ♥

Friday, February 2, 2018

Oh Christmas Words

We're still getting *texty* at Jingle Belles this week ... here is what we made with words:


Stephanie says, "I had to recycle this fun texty Santa image into a new holiday card by mounting it on a vintage dictionary page that contains the word Santa (although it ended-up hidden behind the image).  I finished with some Holly gem embellishments for the Holly Jolly Christmas theme."


Lauren says, "Let's talk rub-on transfers for a second: being less of a stamper, I love the idea that you can place a beautifully executed sentiment or image EXACTLY where you want it and it will attach flawlessly with zero effort or mess. Ok, you can theoretically anyway. In actual fact, even when you have new, brand name product, it's possible that some of your rub-ons will transfer perfectly and some will not. So when I opened these elegant golden words, and wound up with "_OFL" instead of "NOEL" I decided to make the best of it and just scatter them. collage-style, all over two corners of some ledger paper and call it a "design decision". It's not the card I thought I was making, but I like it. There are links to a few more examples of this technique on my blog today, too."

There's still plenty of time to join our texty fun, which we hope you will! Scroll down to the original post to see the glorious readers' gallery and link up your own masterpiece!